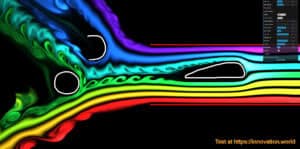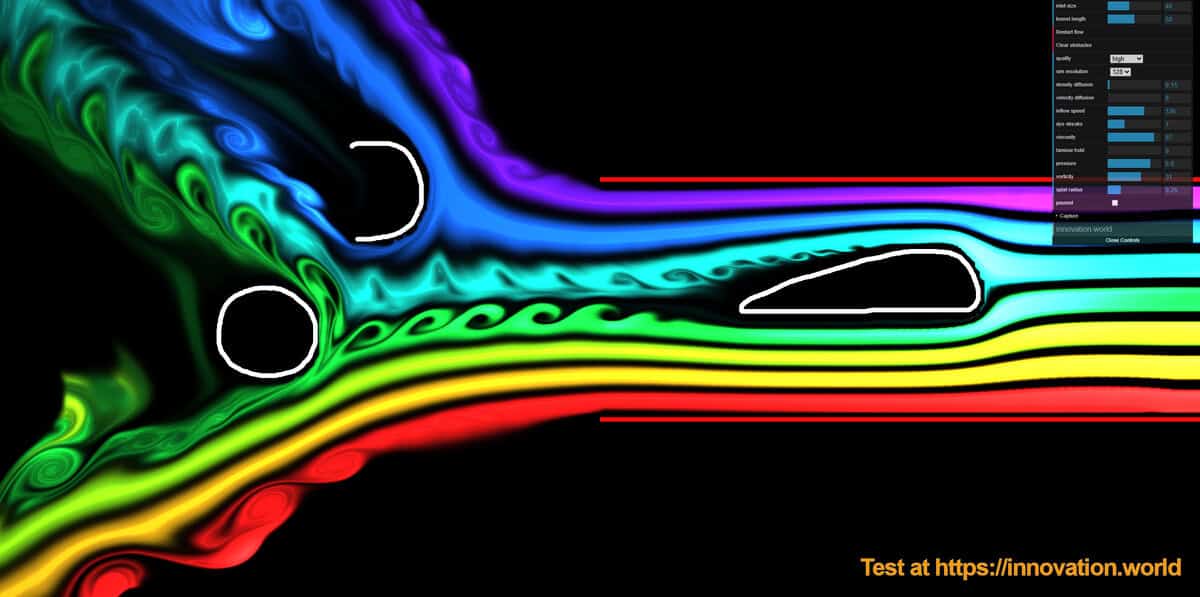
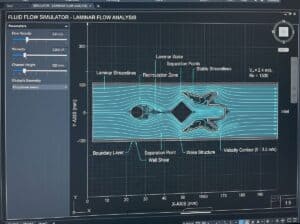
This fluid flow simulator runs entirely in your browser and lets you test how a steady stream of fluid behaves around obstacles you draw yourself. A laminar flow enters from the right, dye streaks make the streamlines visible, and every change you make reshapes the flow in real time. It is a quick way to build intuition about channel flow, boundary layers, wakes and flow separation, without installing anything.
How the fluid flow simulator works
The flow enters from the right edge through an opening centered vertically.
#1 Do change the inlet diameter and length (the red pipe): the “inlet size” slider sets the opening as a percentage of the window height, from a closed wall at 0 to the full height at 100. The “tunnel length” slider extends the opening into a channel, drawn as two red lines. These lines are solid walls: the fluid cannot cross them and it slows down against them, so a velocity gradient builds up along the channel on its own, fast in the center and slow near the walls. Outside the channel, all screen borders are open outflow boundaries, so the fluid simply leaves the domain, as in an infinite domain.
#2 Click and drag to paint your obstacles anywhere in the flow. Each stroke becomes a solid obstacle with the same wall behavior. The flow goes around it, stagnates in front of it and sheds a wake behind it. Strokes persist until you press “Clear obstacles”, and “Restart flow” resets the fluid while keeping your drawing. Changing the inlet size or the tunnel length restarts the simulation from blank.
Tip: set the channel first, then draw. In this fluid flow simulator, choose the inlet size and tunnel length before painting, because moving either slider restarts the run. Avoid cup shapes that open toward the inlet. Dye entering such a pocket has no way out and stays there. If you want to see it clear, raise “density diffusion” or “vorticity” slightly.
Tip: tune viscosity and inflow speed together. A higher viscosity thickens the boundary layers and keeps the wake smooth. A higher inflow speed with low viscosity gives sharper shear layers and more unsteady wakes. Change one slider at a time and wait a few seconds, as the flow needs time to cross the screen.
Draw obstacles inside the flow.
Adjust the red inlet pipe with the 2 top cursors. Best on big screens (full-screen link under)
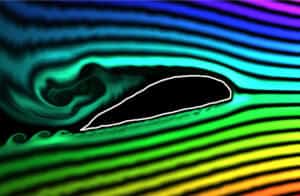
> OPEN SIMULATOR IN FULL SCREEN <
To suppress the pipe and simulate objects in an open environment:
– extend the pipe diameter to its maximum, 100 (1st top slider)
– reduce the pipe length to 0 (2nd top slider)
– increase the stream quantity to 20 or more (“dye streaks”)
Disclaimer
This fluid flow simulator demonstrates fluid dynamics principles, nothing more. It is a real-time, low-resolution approximation designed for visual intuition, and it is not a real CFD solver. It has no validated turbulence model, no calibrated units and no guaranteed mass or momentum accuracy. Do not use its results for design, sizing or safety decisions. For those, use a validated CFD package with proper meshing and verification.
Pro tip: best usage in pro-context is for quickly creating CFD or fluids principles pictures for learning or illustration purposes. Not for calculations.
| License | |
|
Our fluid flow simulator is a heavy modification of the great simulation by Pavel Dobryakov, and available here to test: https://paveldogreat.github.io/WebGL-Fluid-Simulation/ and source code here: https://github.com/mharrys/fluids-2d We also have listed it for years in our online-tools directory, in the simulation category. Its initial license: MIT License Copyright (c) 2017 Pavel Dobryakov Permission is hereby granted, free of charge, to any person obtaining a copy The above copyright notice and this permission notice shall be included in all THE SOFTWARE IS PROVIDED “AS IS”, WITHOUT WARRANTY OF ANY KIND, EXPRESS OR |
The license of our version, adding laminar flow, tunnable inlet, obstacles drawing & interaction, and a couple of CFD parameters: Same as the MIT License from Pavel (see on the left), |