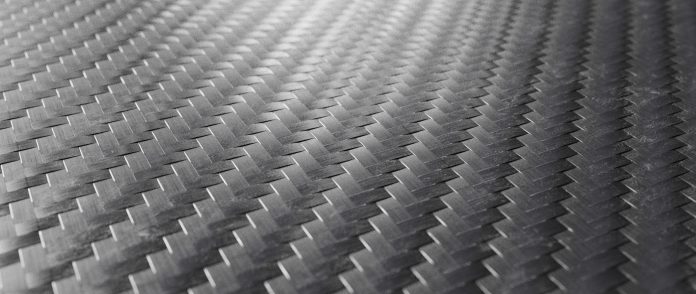
3 videos to demonstrate from start to finish the resin infusion technologies over carbon or kevlar layers to obtain high-end performance thin-wall parts, as used in DIY projects or in pro applications. Although the vacuum part of the process adds several more steps, and consumables, having fewer or no bubbles, and the resin perfectly mixed with the layers make a way stronger finished product and/or lighter if the layers are reduced for a given strength. Depending on the number of layers versus the vacuum process, it can sometimes save time as no resin has to be manually applied between each layer.
These technics are reserved for low-volume productions, with high prices due to labor time and raw material and consumables costs, but permit extremely high-performance parts by adapting thicknesses and reinforcements only to required local areas, not permitted with other processes. The other benefit is the low-cost tooling, even for large and complex parts.
Disclaimer: although obviously the first 2 videos are made for commercial purposes, these are the most comprehensive tutorials we have seen. No commercial agreement whatsoever between innovation.world and the EasyComposites company.
Resin Infusion Steps
Steps reviewed for a typical part infusion:
- prepare or design the mold, with large protruding flanges. Tip: because of the relatively low pressure/vacuum, the mold does not need to be stiff nor hardened, (basic foam might not be sufficient though), however, its surface needs to be extremely smooth (small Ra) for the later sealing, making, for example, FDM 3D Printing a no-go, unless additional layer or coating are added
- depose the release agent and then position the various layers:
- the reinforcement fabric layers
- the peel ply
- the infusion mesh to insure the propagation of the resin
- the gum tape to seeling all external components (mold, bag, tube)
- finally the vacuum bag
- use these specific infusion tricks, including positioning the spiral feed line and the vacuum port
- test your vacuum and the quality of all your seals. When the resin will be poured inside, it will be too late. Achieving the highest final vacuum is not an option and will be impossible even with a tiny opening
- mix and vacuum the resin to remove bubbles in the mix
- … and the infusion itself
Tip: an incomplete mix or humidity are the 1st usual suspects for part aging incorrectly by delamination (see advanced tech below for the 2nd suspect)

Advanced Resin Infusion Steps
The previous technics, but applied to a 3-meter-long Kevlar-reinforced ice sled.
Other advanced technologies demonstrated here, in addition to the previous technics:
- optional gelcoat applied on the mold directly
- a foam core to increase stiffness without weight and cost if the part would have been plain. These are sandwiched between the two sides of Kevlar layers.
Tip: the core, despite its benefit for rigidity, is the 2nd usual suspect for part aging incorrectly by delamination, either because of ambient humidity or water ingress. A well-mastered and documented process is needed to obtain reliability and repeatability for critical applications
- the complexity inherent to a large part, including curing time constraints, resin flow path tricks, and resin break at the vacuum port side

Last Tip: while ambient humidity and temperature must be controlled, pre-heating the mold or the resin should be decided on your experience, your exact flow speed, the infusion mesh model, and the resin supplier.

Industrial Massive Resin Infusion Exemple
Resin Infusion, with the same principles as before, but used here in the making of a racing sailboat in Italy for the Volvo Ocean Race, now Ocean Race: just the above technics, but at a massive scale, with a mold of more than 60 feet long for the one piece IMOCA 60 monohull world-class.
Note how the previous spiral feed line is here replaced by a bunch of feedlines and valves to limit both the resin travel distance and control the feed sequence by opening/closing the valves one by one.

