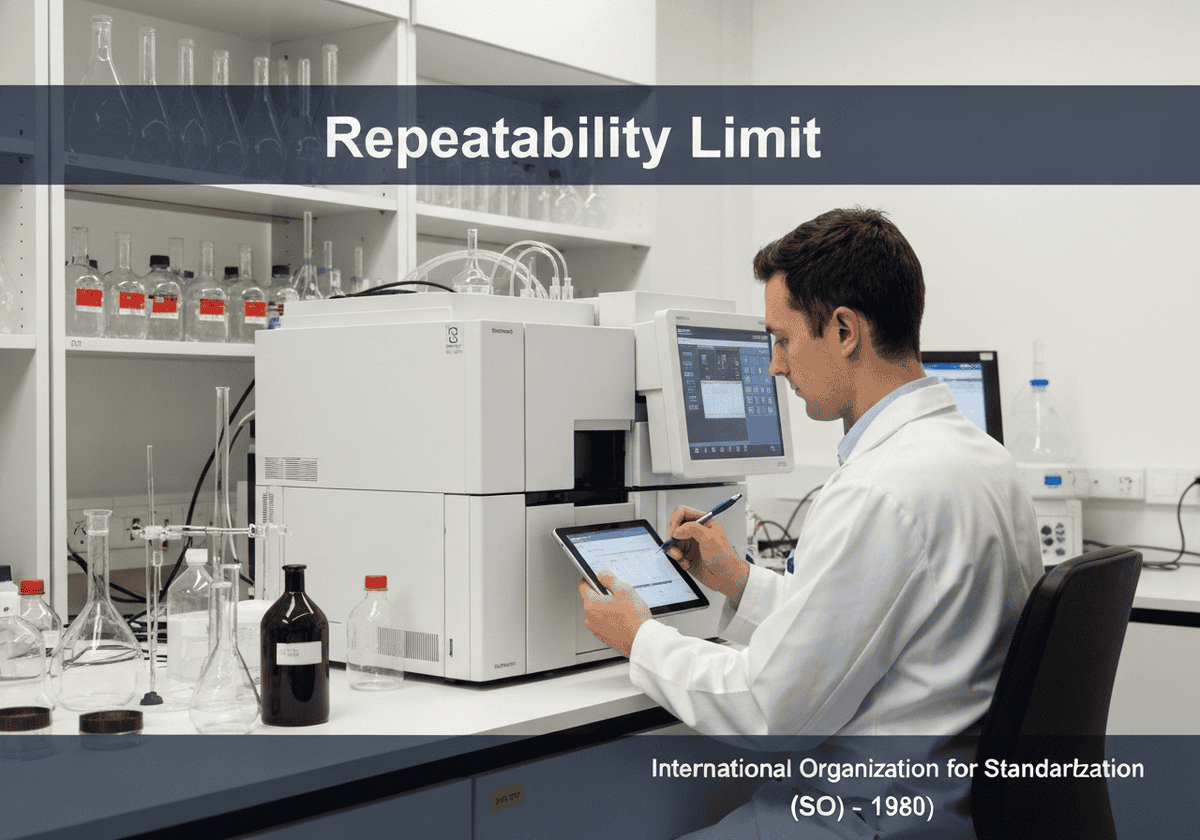
重复性极限 [latex]r[/latex] 是由重复性标准偏差 ([latex]s_r[/latex]) 得出的临界值。它表示在重复性条件下获得的两个单一测试结果之间的最大预期绝对差异,概率为 95%。通常计算公式为 [latex]r = 2.8 倍 s_r[/latex]。如果差值超过 [latex]r[/latex],则认为结果可疑。


(generate image for illustration only)
重复性极限 [latex]r[/latex] 是由重复性标准偏差 ([latex]s_r[/latex]) 得出的临界值。它表示在重复性条件下获得的两个单一测试结果之间的最大预期绝对差异,概率为 95%。通常计算公式为 [latex]r = 2.8 倍 s_r[/latex]。如果差值超过 [latex]r[/latex],则认为结果可疑。
The repeatability limit provides a practical tool for judging the acceptability of two test results. Its statistical foundation lies in the properties of the normal distribution. The difference between two measurements drawn from the same normal distribution with standard deviation [latex]s_r[/latex] is also normally distributed with a mean of zero and a standard deviation of [latex]\sqrt{s_r^2 + s_r^2} = \sqrt{2}s_r[/latex]. To encompass 95% of these differences, we use a coverage factor. For a normal distribution, this factor is approximately 1.96. Therefore, the 95% limit is [latex]1.96 \times \sqrt{2} \times s_r \approx 2.77s_r[/latex], which is often rounded to [latex]2.8s_r[/latex] for simplicity in standards like ISO 5725.
A more precise calculation uses the Student’s t-distribution, especially when [latex]s_r[/latex] is estimated from a small number of measurements. The formula becomes [latex]r = t_{(1-\alpha/2, \nu)} \times \sqrt{2} \times s_r[/latex], where [latex]t_{(1-\alpha/2, \nu)}[/latex] is the critical value from the t-distribution for a confidence level of [latex]1-\alpha[/latex] (e.g., 95%) and [latex]\nu[/latex] degrees of freedom used to estimate [latex]s_r[/latex]. In practice, if a lab runs two tests on the same sample and the difference is greater than [latex]r[/latex], it’s a signal to investigate potential issues like procedural errors, sample contamination, or instrument malfunction.
迎接新挑战
机械工程师、项目、工艺工程师或研发经理
可在短时间内接受新的挑战。
通过 LinkedIn 联系我
塑料金属电子集成、成本设计、GMP、人体工程学、中高容量设备和耗材、精益制造、受监管行业、CE 和 FDA、CAD、Solidworks、精益西格玛黑带、医疗 ISO 13485
重复性限值(统计量)
(如果日期不详或不相关,例如 "流体力学",则对其显著出现的时间作了四舍五入的估计)。
相关发明、创新和技术原理
{{标题}}
{%,如果摘录 %}{{ 摘录 | truncatewords:55 }}
{% endif %}